
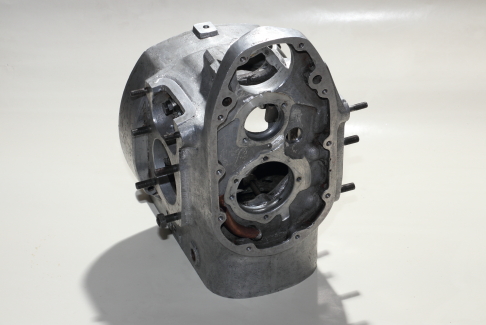
Wintertime in The Netherlands, a good opportunity to start building an M72 engine that’s been lying in pieces in the shed for donkey’s years.
The whole project isn’t that big in size so I can do that inside the house 🙂
Because I’m also a photo enthusiast I will try to make as much photo’s as possible to document the whole process and maybe help others with it .

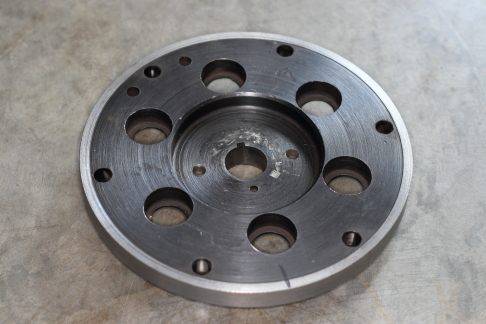
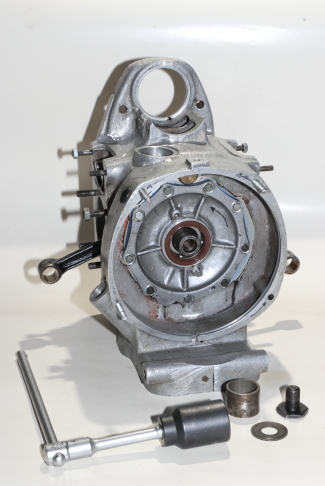
I made the holes on the timing wheel bigger, with “Natasja” I had the misfortune that the front plate of the crankshaft got loose !! Bolts where tightened but not secured like on the back with a steel wire. Wasn’t done before I overhauled the engine, still a bit inexperienced, so I put it together the way it was ! 2 bolts where out and lying on the bottom, 1 was loose and the one behind the timing gear was loose and damaged ! Took me lots of work, pulled apart almost half the engine to get that one out, so with that knowledge…….. I used strong Locktight and made the holes bigger, just in case !!
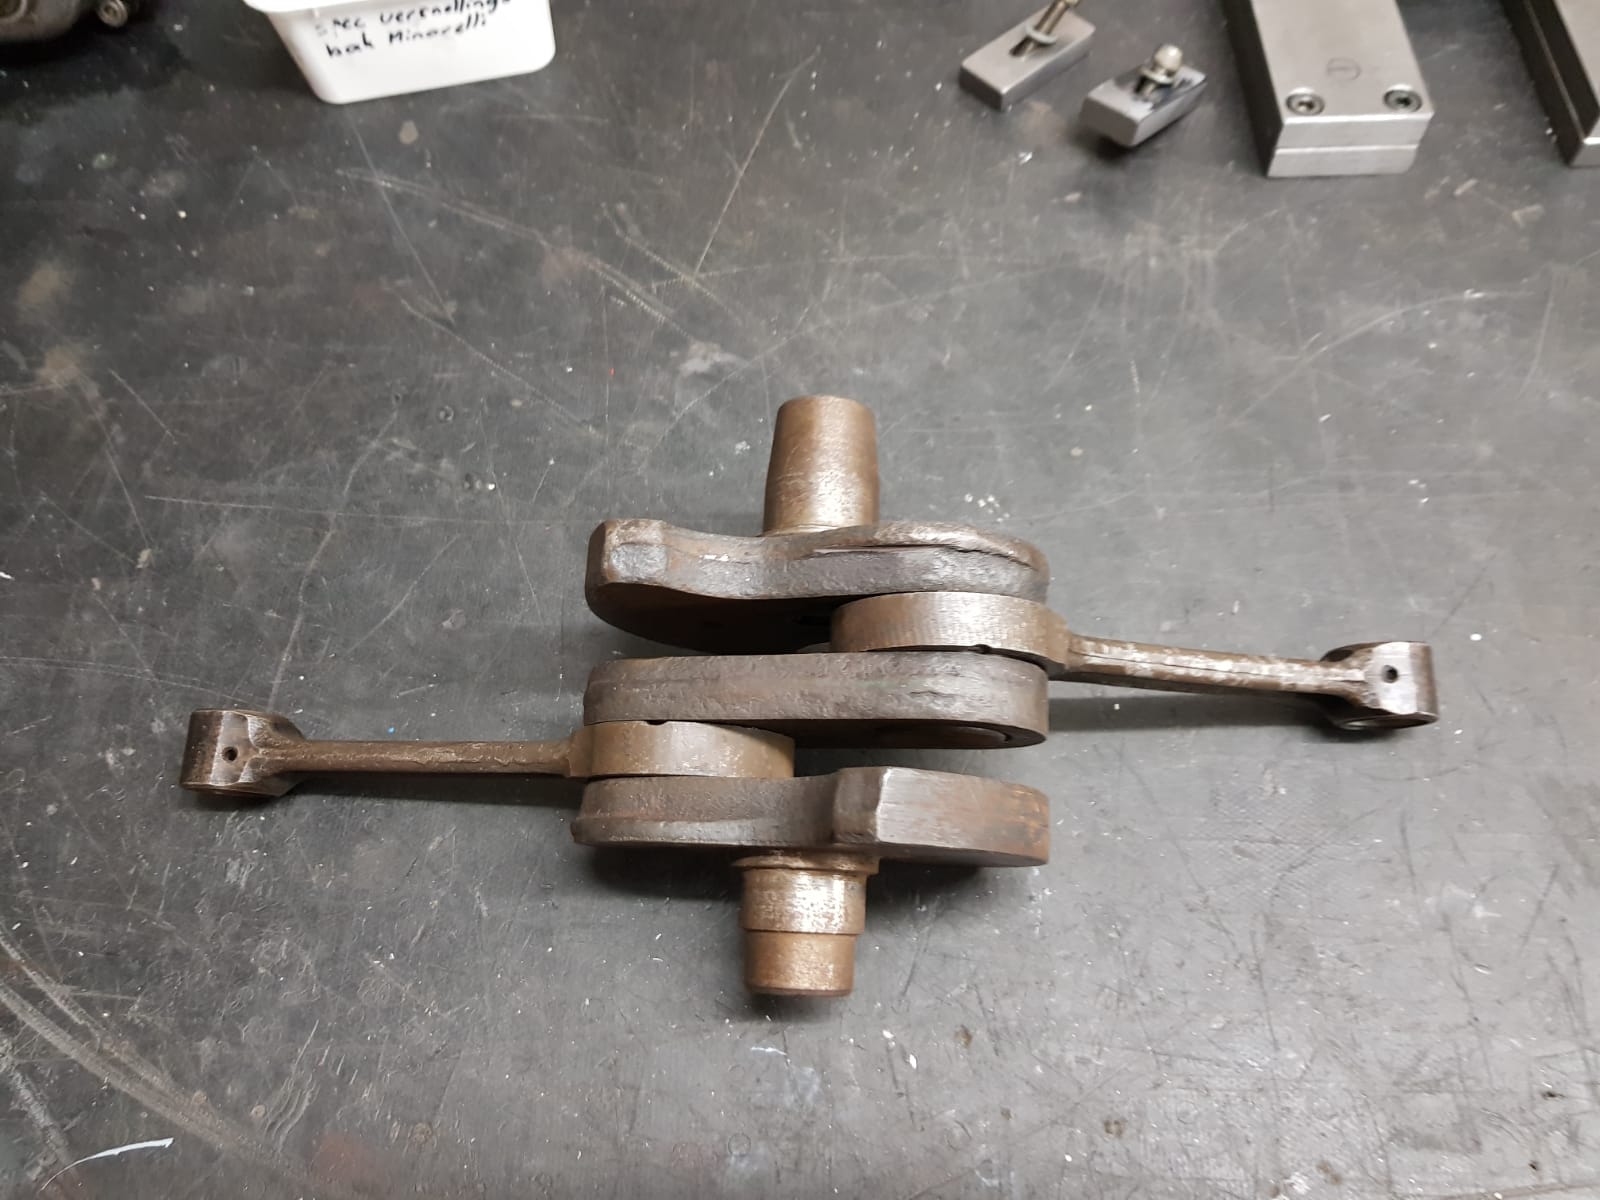

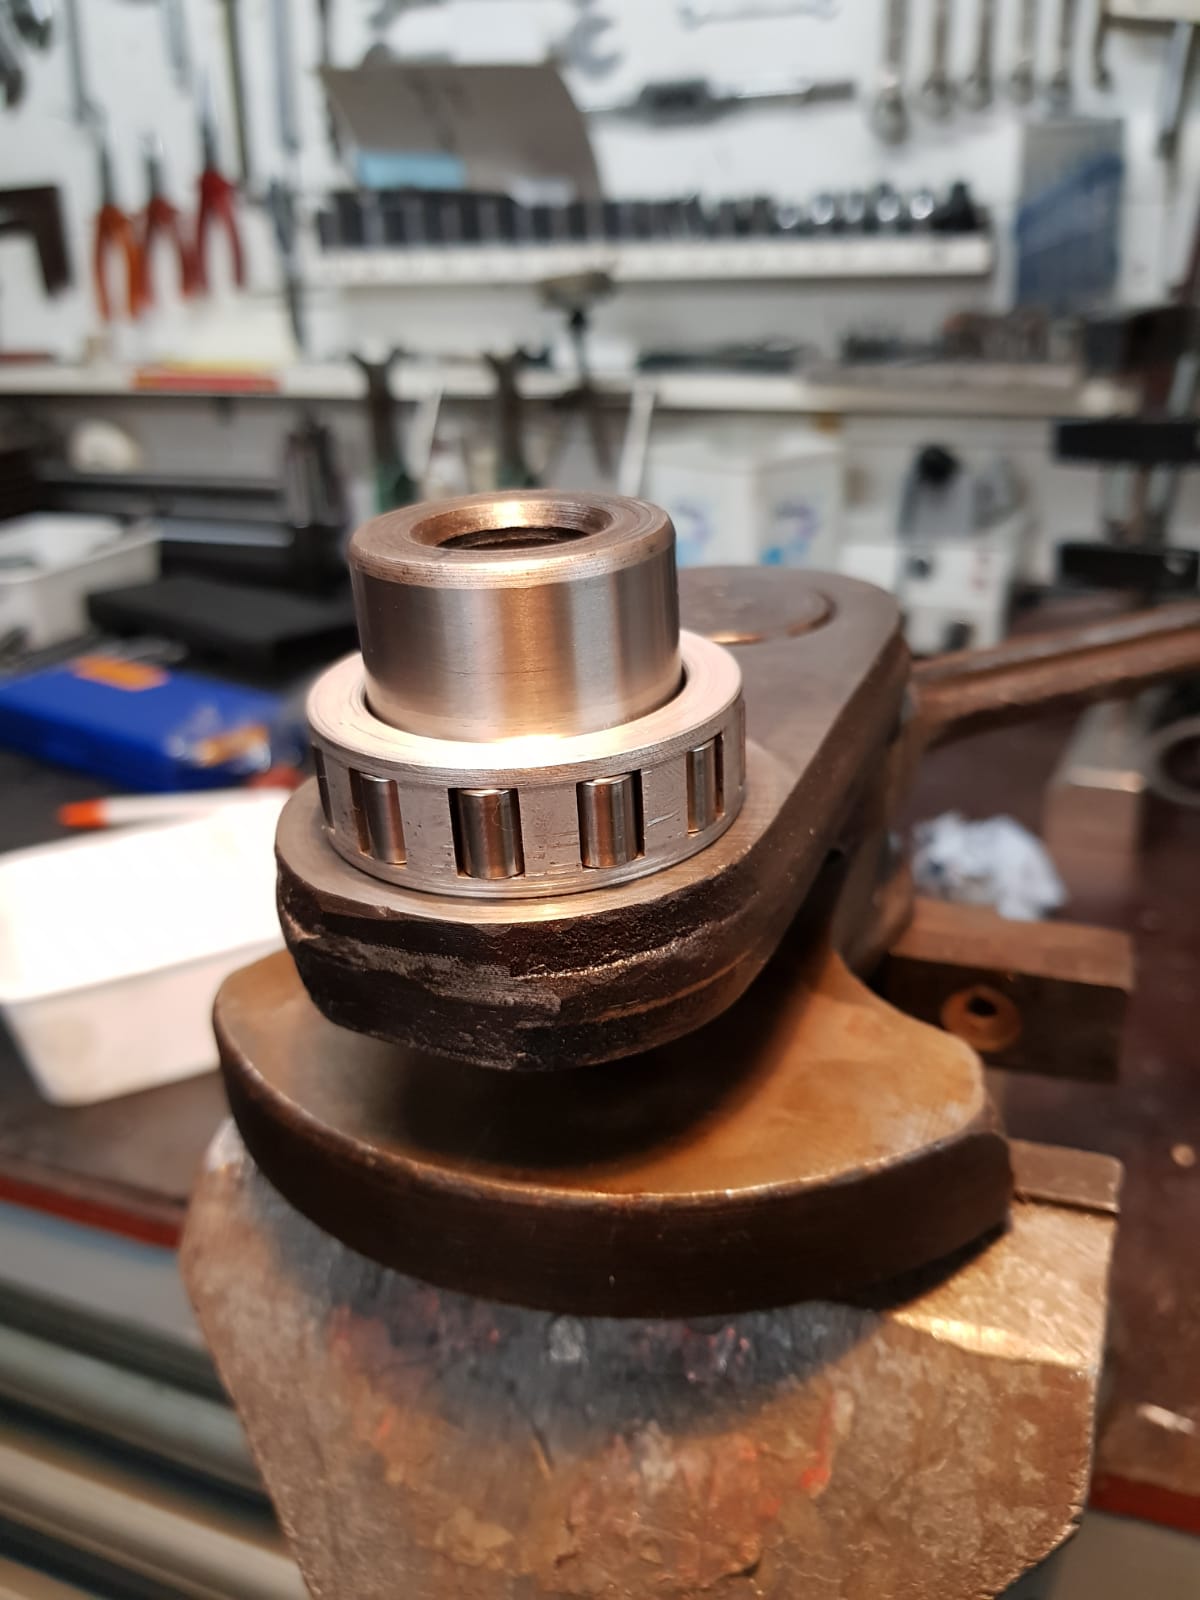

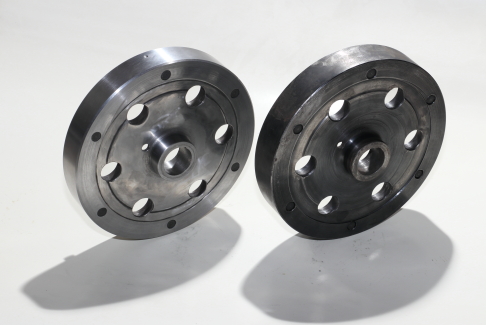
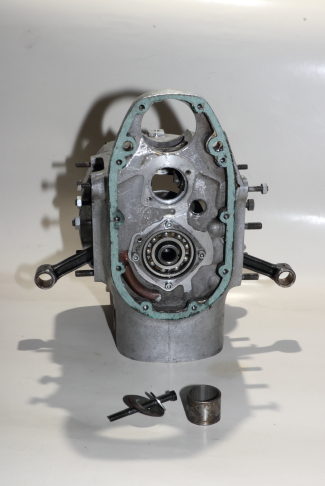
Both flywheels have diam. 50 for seal, Viton 50x65x10. Left one is adapted from felt to seal, together with back plate crankshaft.
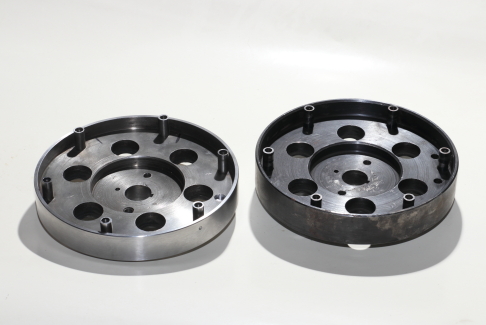
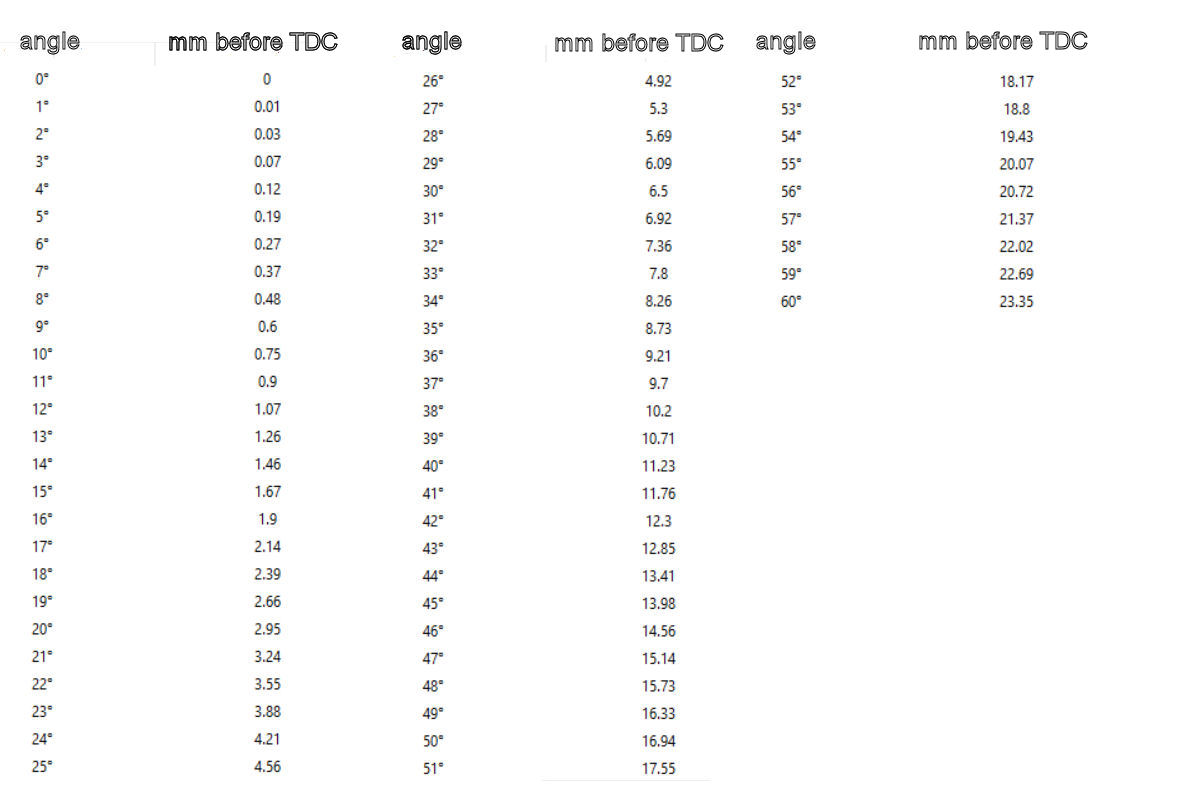
Left flywheel, is made lighter, instead of 5kg it’s now 4.65 kg, right one need some attention. It will be made lighter than the other, aiming for 4kg.
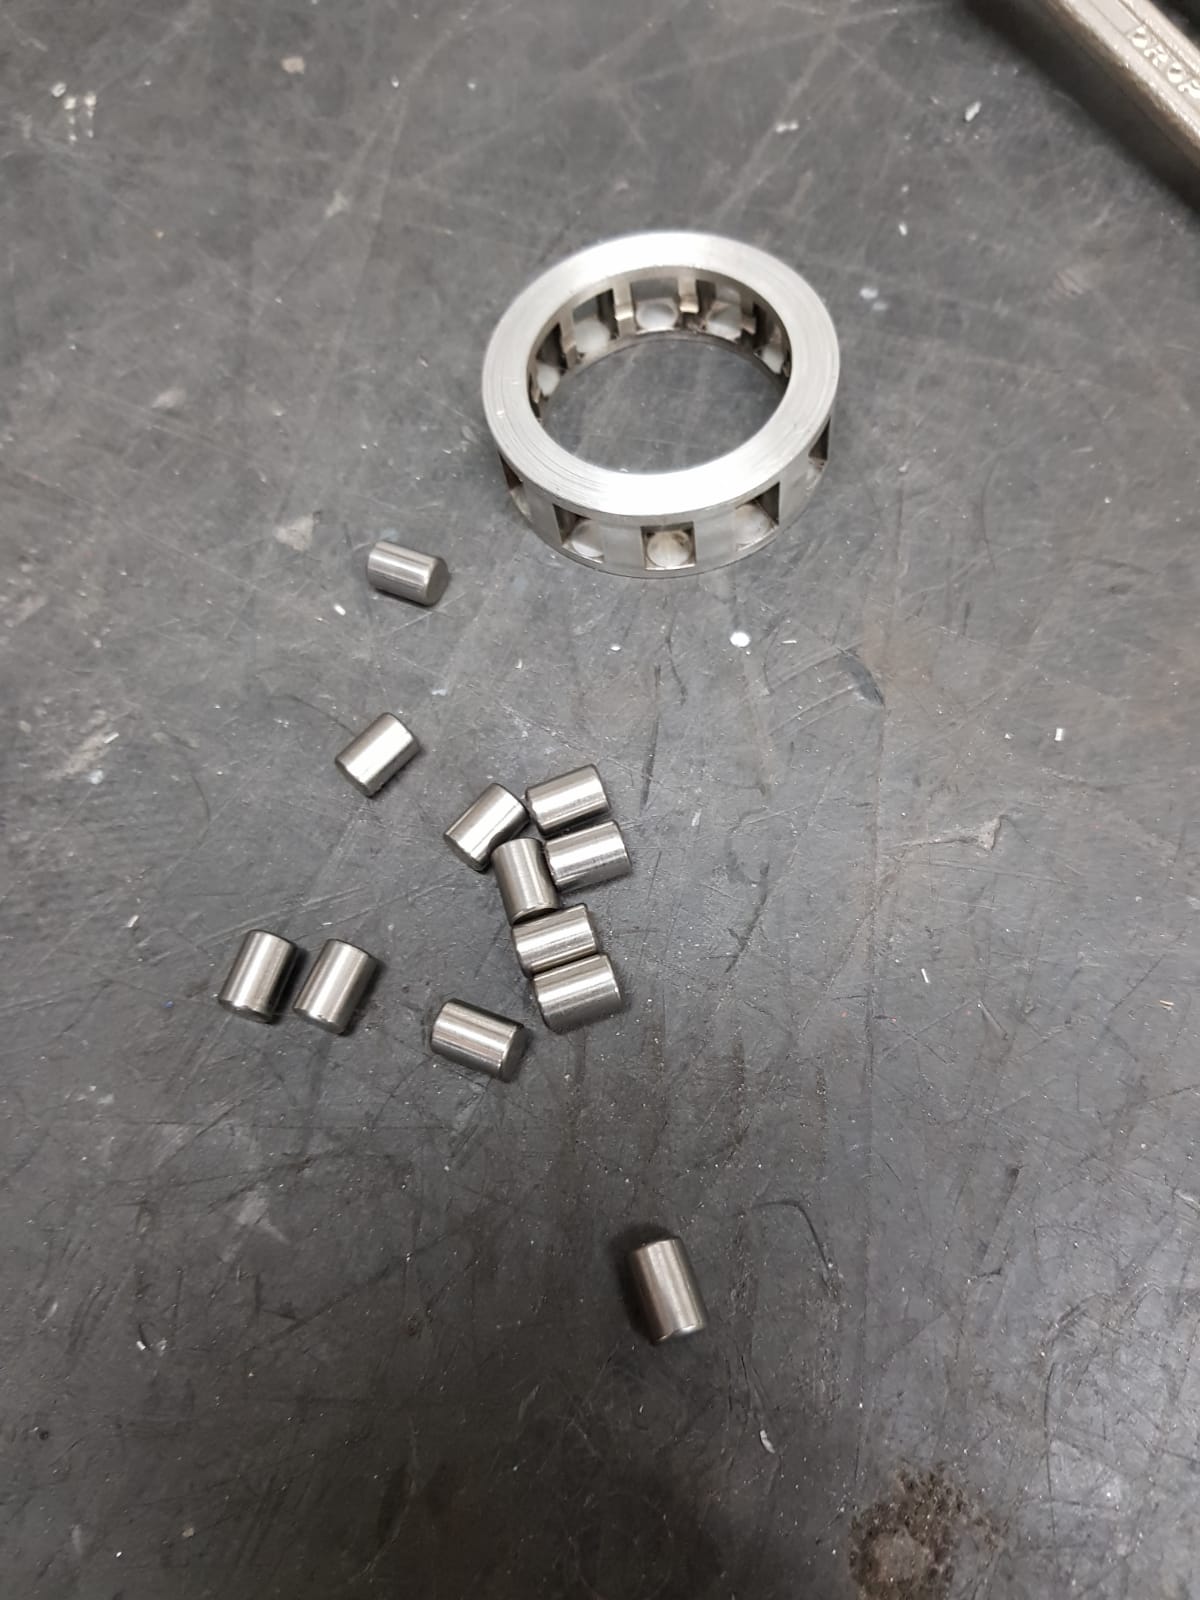
Pins are a bit damaged by the clutch plates, I think I’m gonna replace them with new ones. Later one I have to balance them before putting them on a crankshaft.

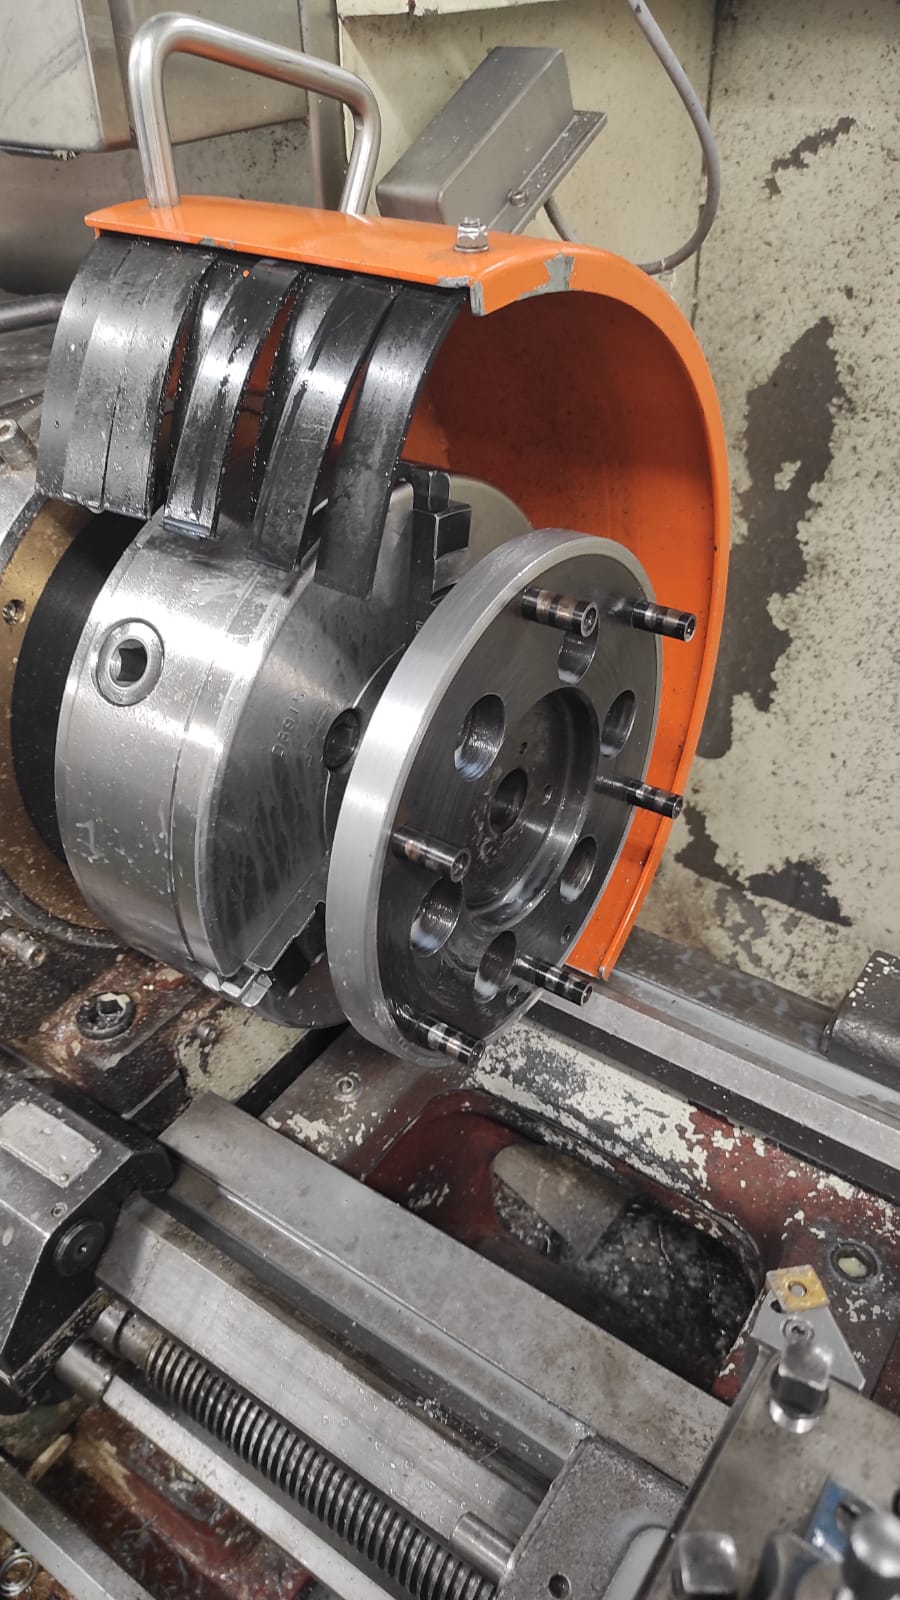
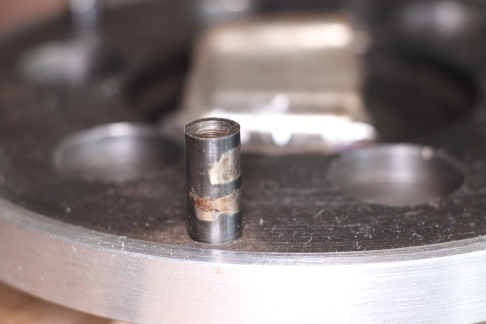
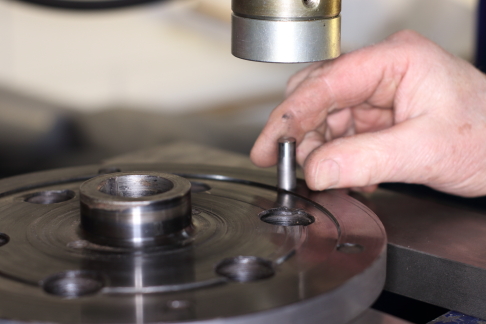
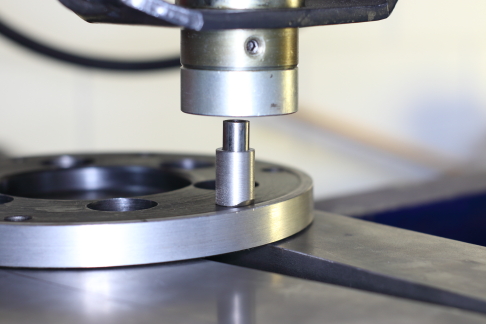
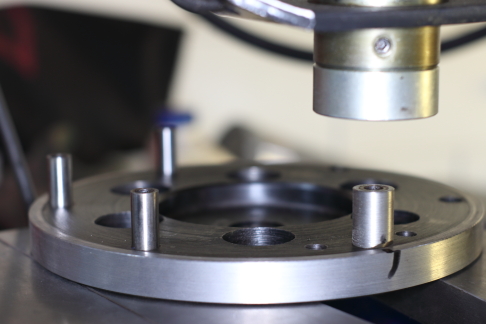
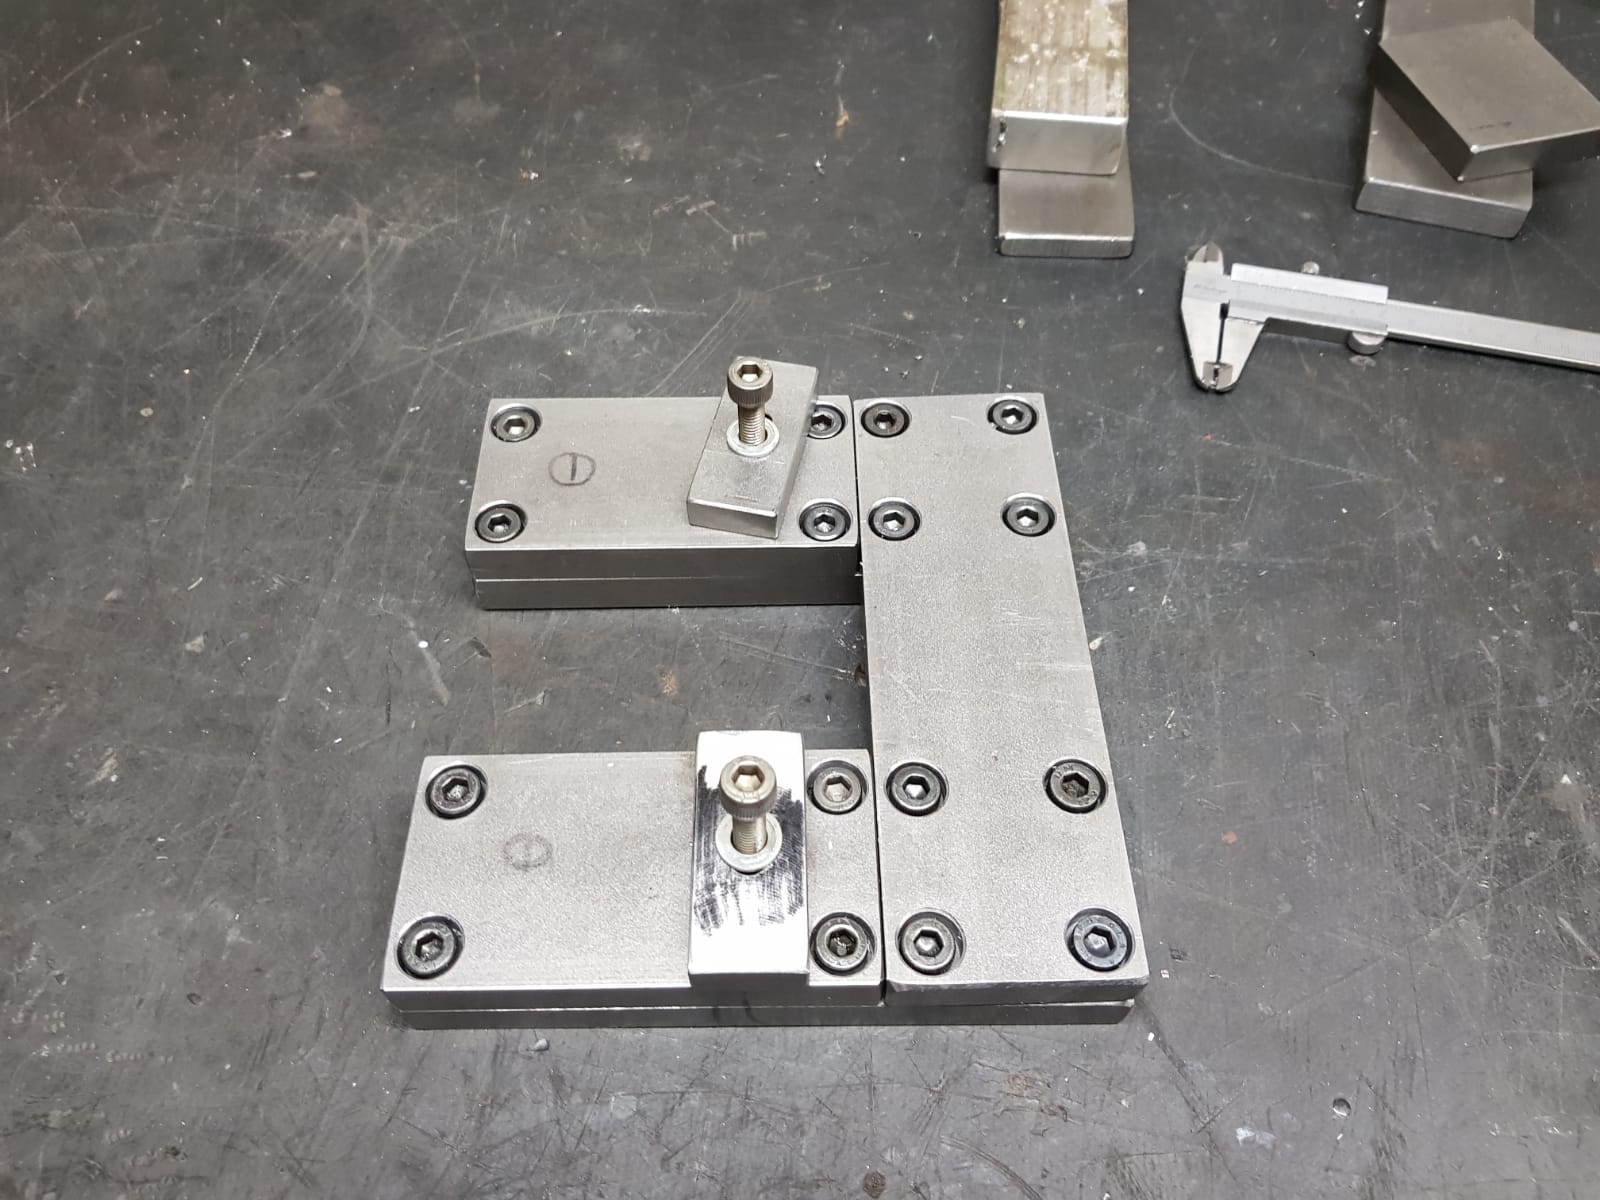
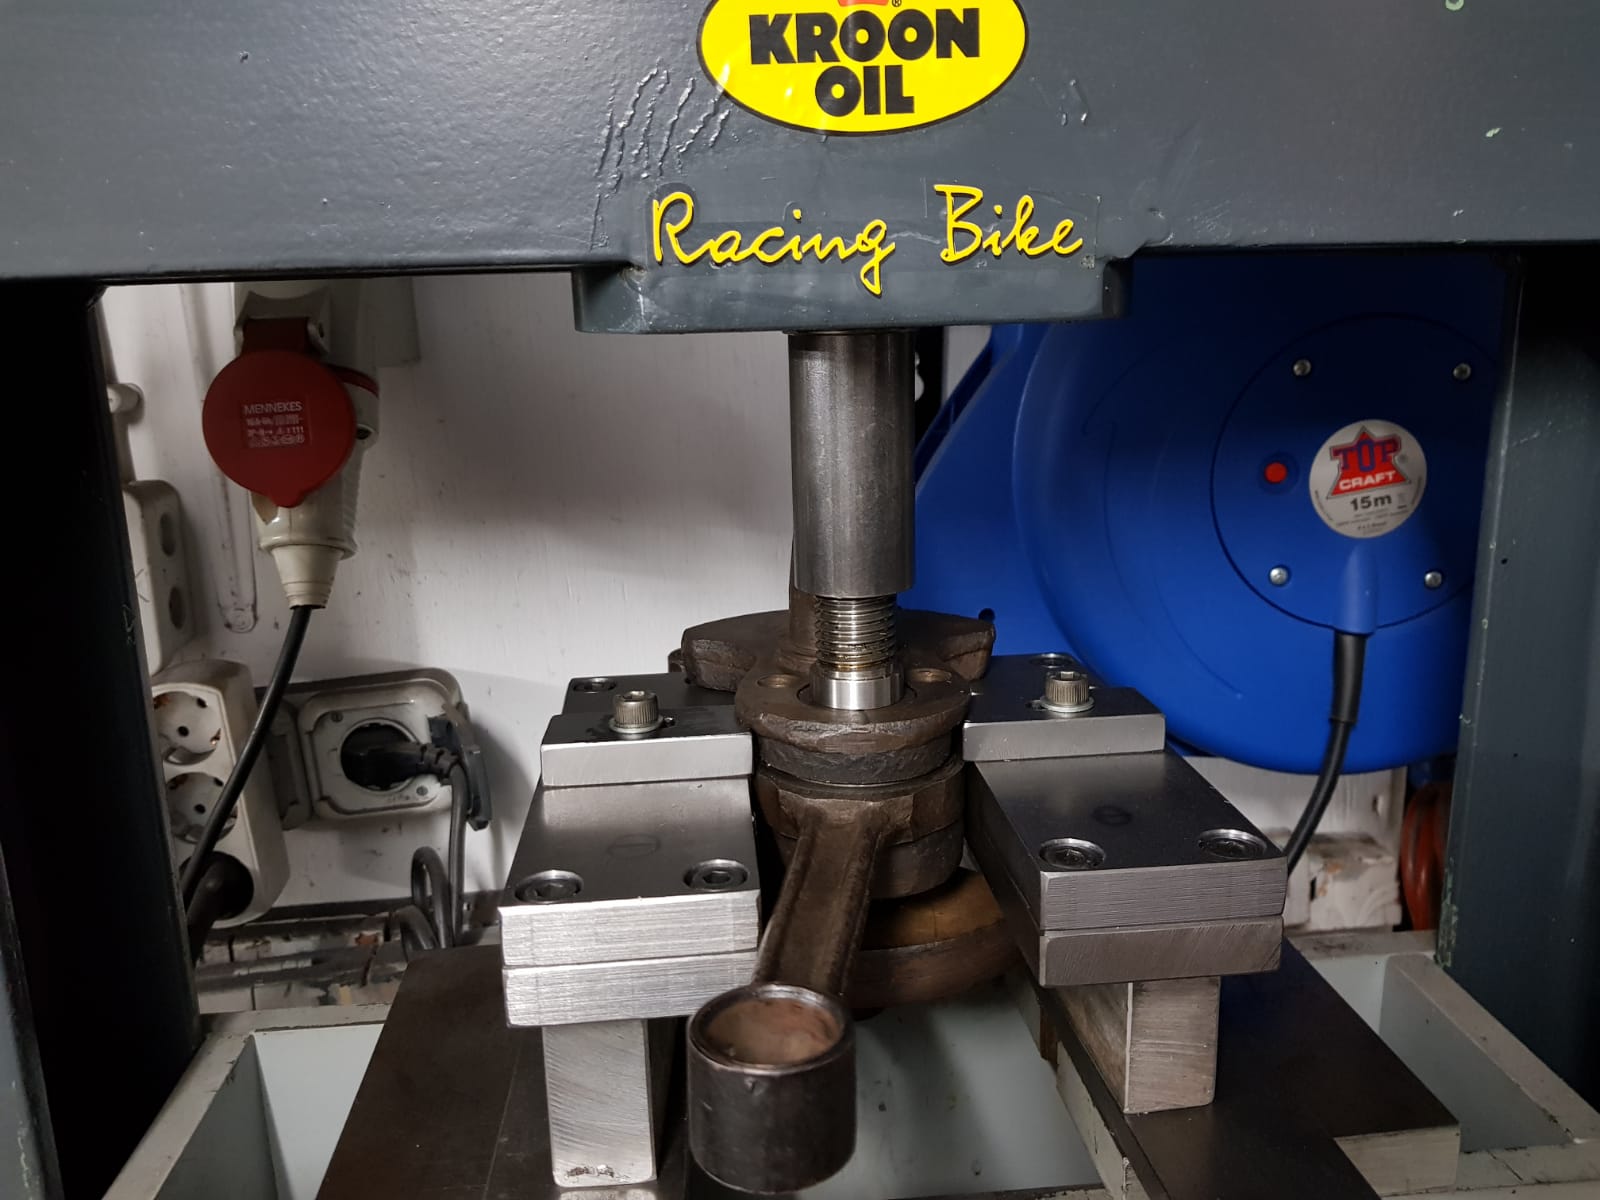
Pressed the pins out and in at my mate’s shed with a strong press ! He also made a “little helper” to get all the pins the same height ! Yep Cok is a smart guy !

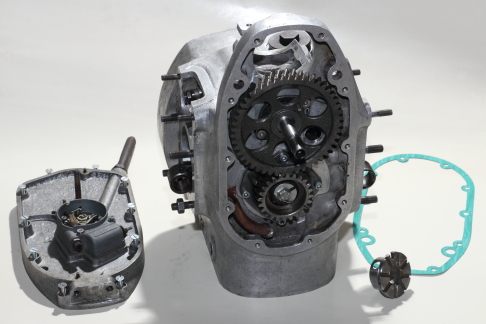
Make sure you got the right breather, there’s a difference in timing !
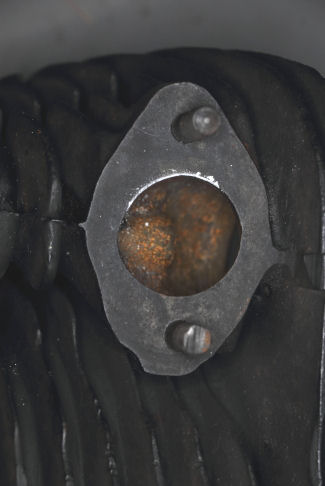
Check it by putting it in place and see if the hole is for the downpipe in the front plate when the con-rod’s are almost or complete inside the housing.
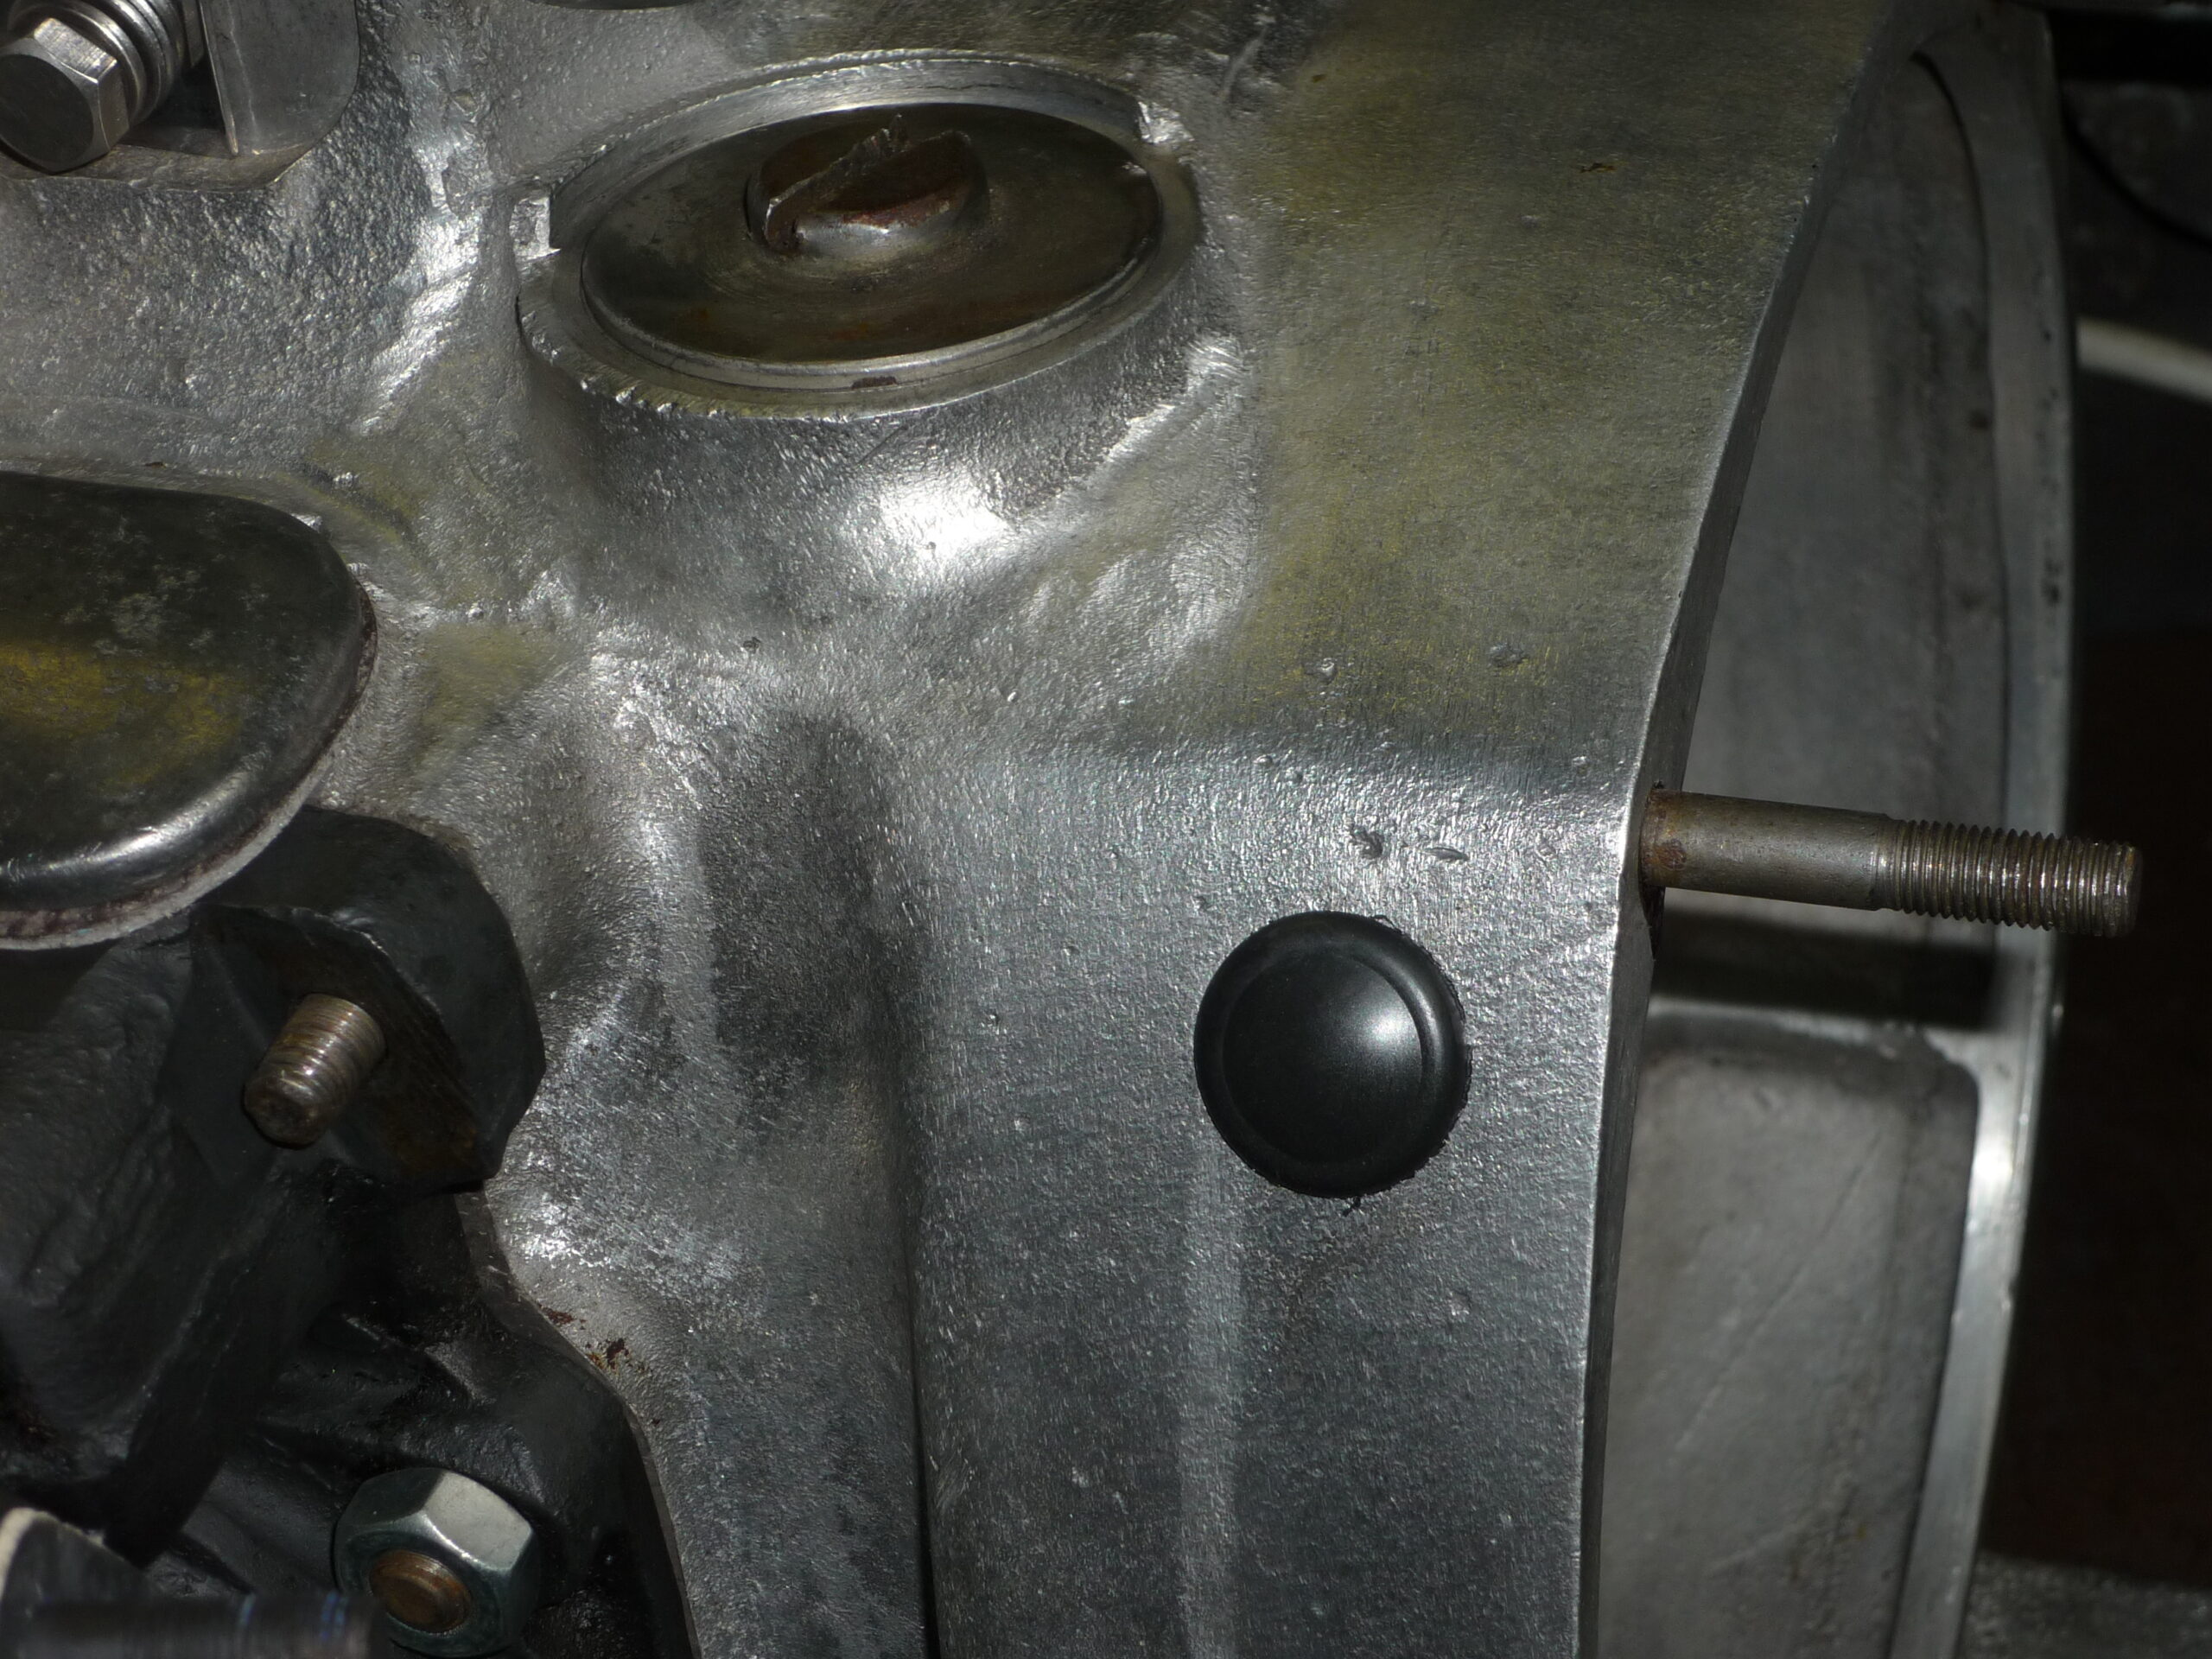
To be honest I didn’t use the breather, I updated it a bit and put a non-return valve instead of the breather on the timing plate !

Remark; if you remove the side from a flywheel, the hole needs to be further to the front to see the markings on the flywheel (found out later).
Muerto superior, верхней мертвой точки, Pointe morte haut, OT-zentrum, Morto superiore are some translations for Top dead-centre, we will keep it at TDC.
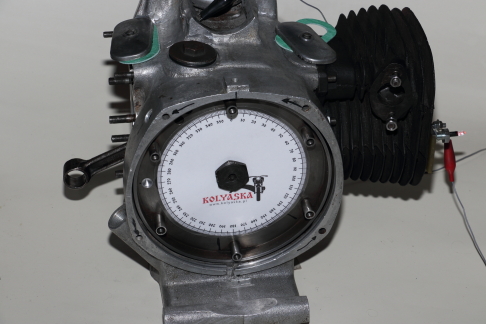
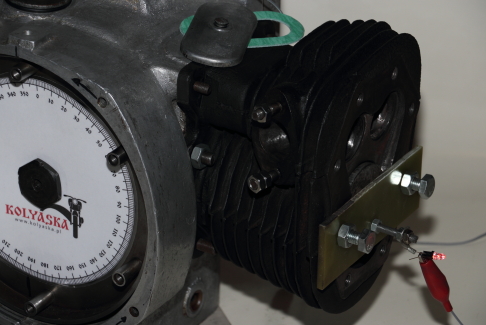
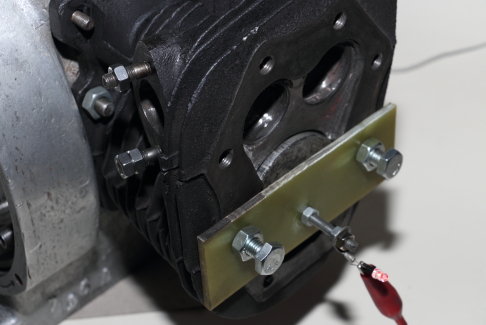
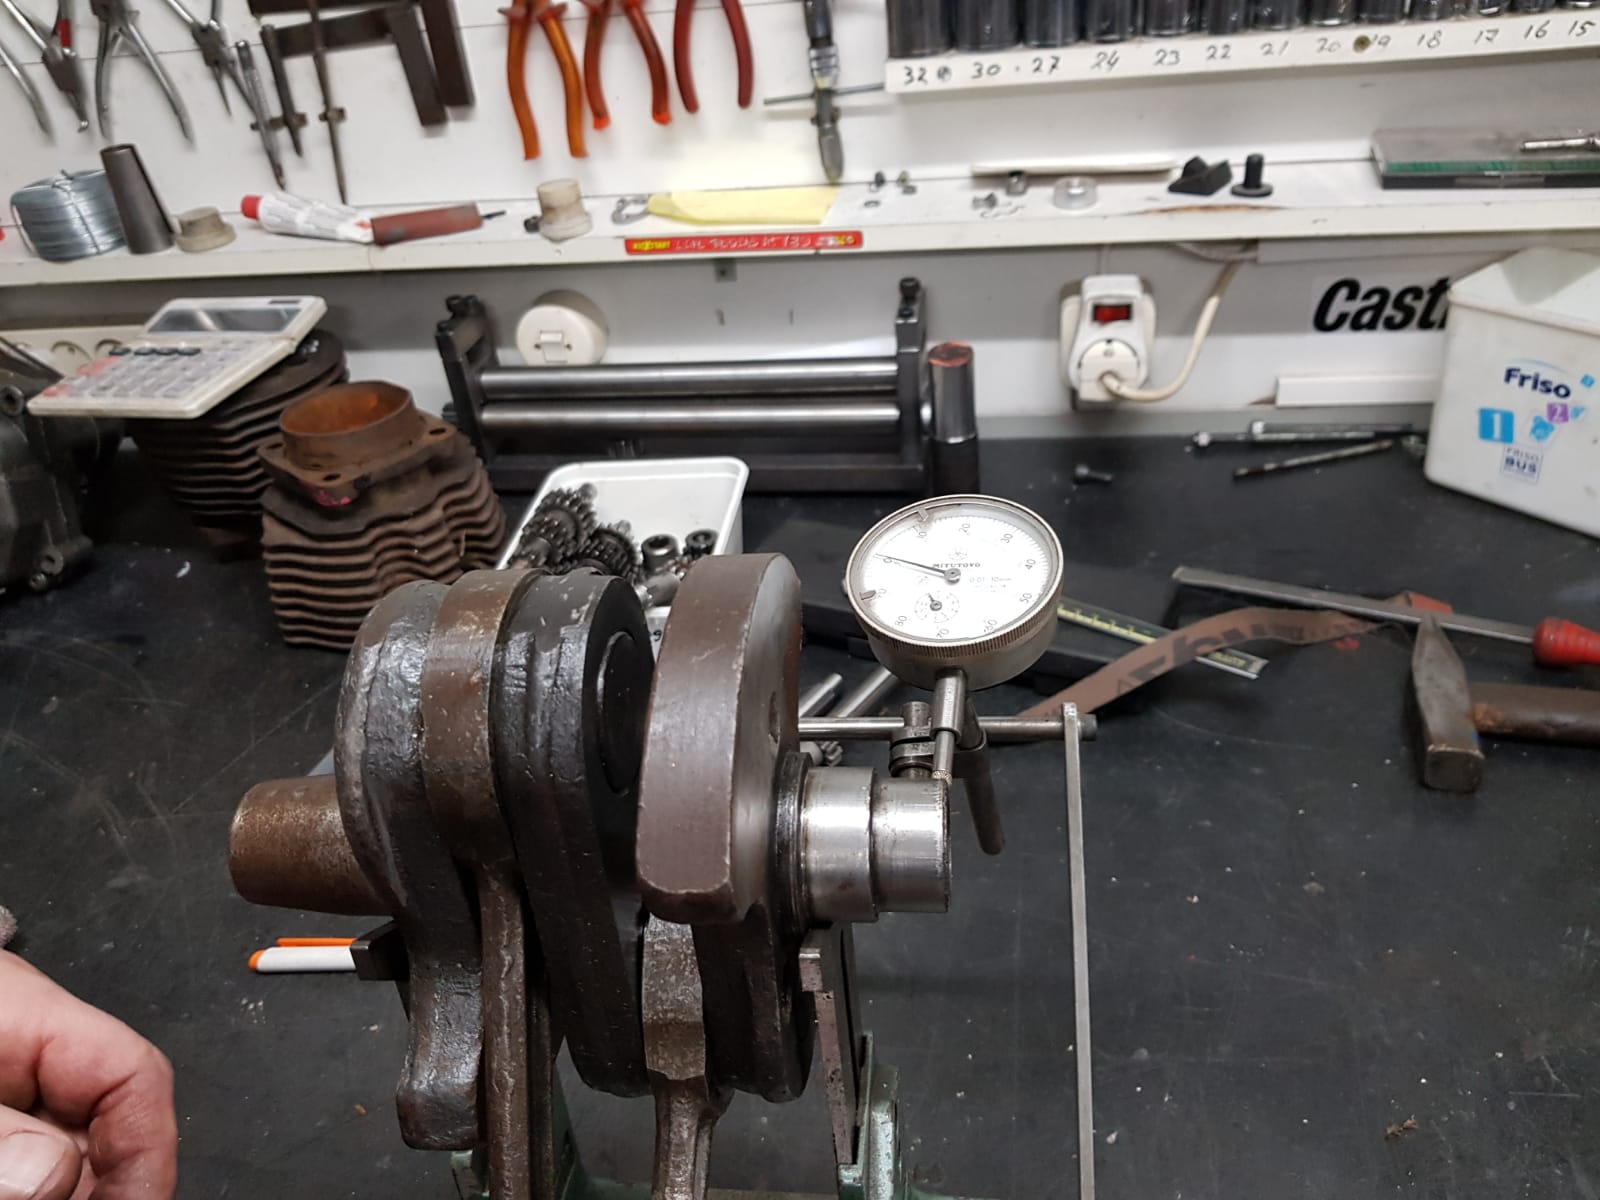
With this little tool you can find the TDC and mark it on the flywheel. 8mm back you can make a mark for the ignition of the engine. This work makes life easier in the future.
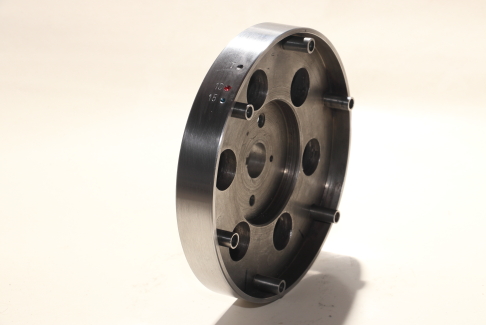

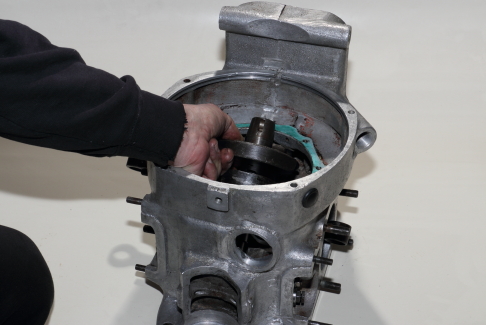
I mounted a single plate. Use an old axle with splines to centre and 3 long M8x1 bolts to get it in place. After that is done use 3 right size bolts or screws to fasten the plate. Now you can remove the “install bolts” and put the right bolts in place of them. Use a bit of strong Locktight. I’m not a fan for it but you can put a centre-punch to fix the bolts.


Things still to do
Cylinders, have to be bored and honed on the right diam.
The valves need a bit of attention too, a difference of 3 gram between them and maybe get some more weight of them also ! (probably a new valvetrain, like on Anoushka.)
On Anoushka the valves and barrels are flowed, new valve springs, wedges and collars from…. ahemmm… HD
Updates done on the engine.
- HV pump
- Oilfilter
- Deep sump
- Electronic ignition
- K750 camshaft (higher cams)
- Flywheel, made lighter
- Single clutchplate
- Non-return valve instead of the breather